Most Popular Parts
These are the most commonly purchased repair parts for IVE32300.
-
(25)
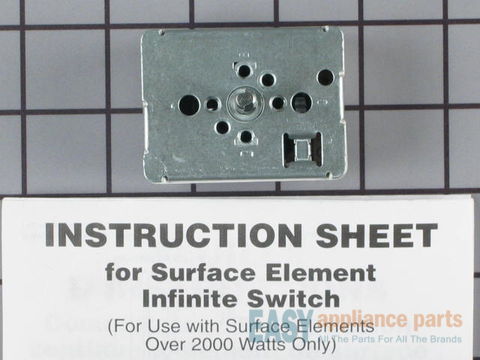
This control switch controls the stove top 8" surface burner. 8.9- 11.0 amp. This surface burner element switch is for an 8-inch surface burner on an oven, stove, or range. The element switch controls the heat of the surface burner. Disconnect power to your range before completing this repair because you will be working closely with electrical circuits. Remove the screws from back panel and the console, and remove the console to expose the switch. It is recommended to check for overheating or arcing on the wiring harness in case they need to be replaced as well. The harness that connects to the switch features a slip-on terminal for easy installation.
-
(18)
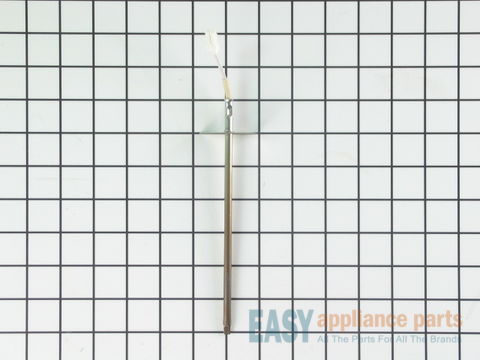
This temperature sensor detects the temperature within the oven cavity. This oven temperature sensor, for ranges, works together with the oven control board to measure and regulate the oven temperature. The sensor detects the temperature in the oven cavity. If the following symptoms occur, replacing the temperature sensor could be the solution: Little or no heat when baking, oven not heating evenly, oven will not start, and/or oven is overheating. Often, if the sensor is defective, the oven temperature will fluctuate and be inaccurate by more than 50 degrees. The tool needed for this replacement is a #2 square head screwdriver or a #2 Philips screwdriver. Remember to unplug the range before installing the part.
-
(13)
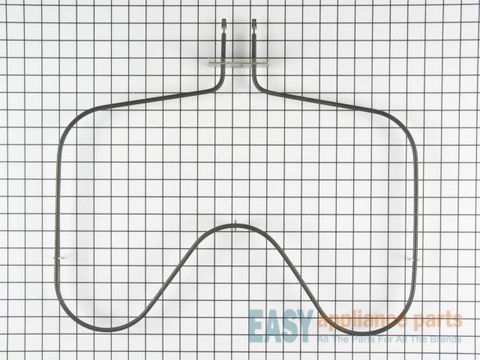
This Whirlpool OEM 2400-watt bake element has push-on terminals and is located on the bottom of the oven cavity. The bake element supplies heat while baking. If the oven is not heating properly the bake element may have burned out. If the element has burned out there would be visible damage such as holes, cracks, or blisters. When replacing the element, do not allow the wires to fall back through the rear of the oven. Disconnect the power to the range before starting your repair.
-
(7)
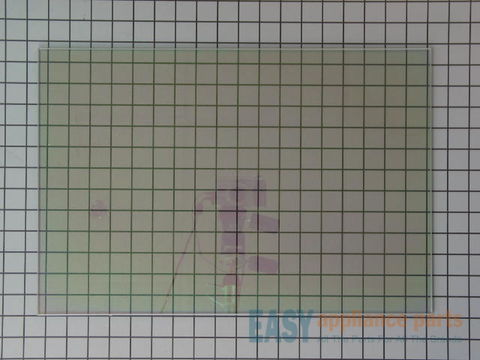
This is the innermost piece of glass on your door.
-
(1)
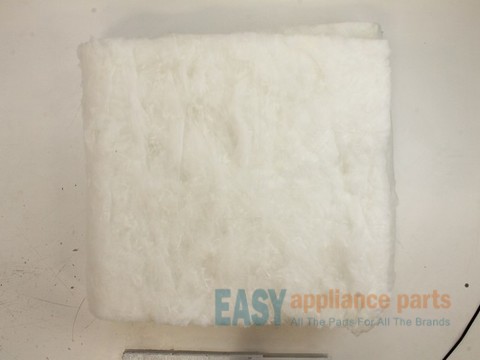
Oven Wrap Insulation.
-
(1)
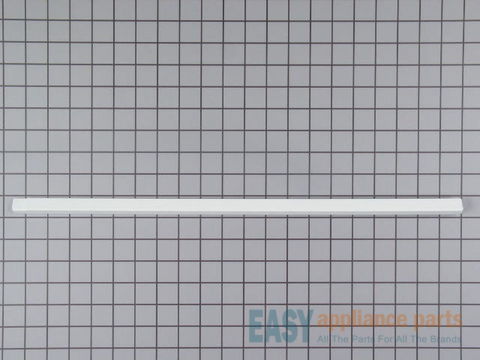
This trim is white in color.