Most Popular Parts
These are the most commonly purchased repair parts for JDS9860AAP.
-
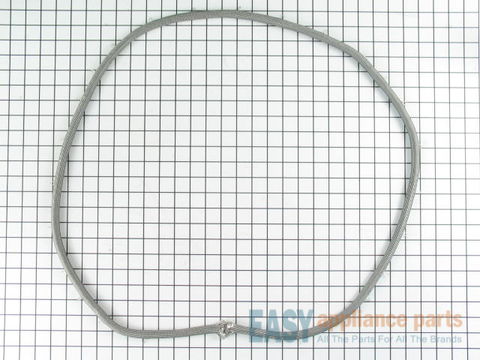
(14)
The oven door gasket prevents heat from escaping the oven cavity when in use by creating a seal around the oven door. If your oven has little or no heat when baking, you may need to replace the gasket. This door gasket contains all the attaching clips needed for installation and is a genuine OEM part. Please make sure the oven is cool before installing the door gasket.
-
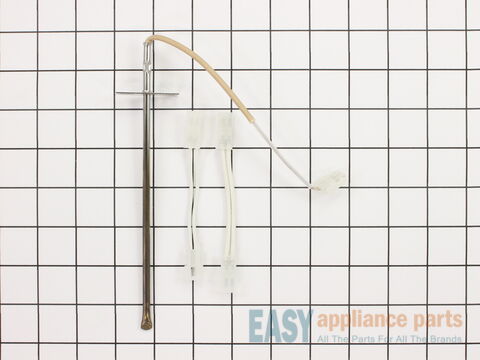
(4)
The oven sensor detects the temperature within the oven cavity and sends the information to the control board. If your oven is not heating evenly, has little or no heat when baking, or is too hot, you may need to replace the sensor. This long oven sensor kit comes with two harness adapters and is a genuine OEM part. Please remember to disconnect the power before starting your repair.
-
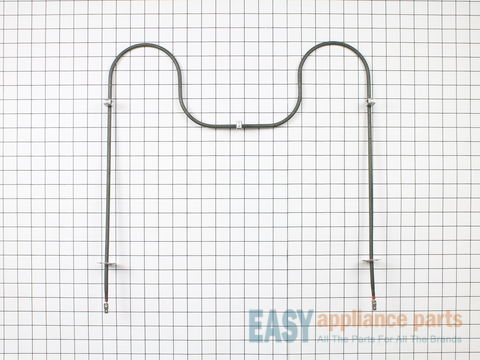
(21)
This genuine OEM bake element has push-on terminal ends and provides heat while baking. If the bake element has arcing, is shorted out, the oven is not heating evenly, or little or no heat when baking, you may need to replace it. When replacing the bake element please make sure you disconnect the power to the range. Make sure you don’t let the wires fall back through the rear of the oven. This element has been updated by the manufacturer. New installation screws are required and are sold separately.
-
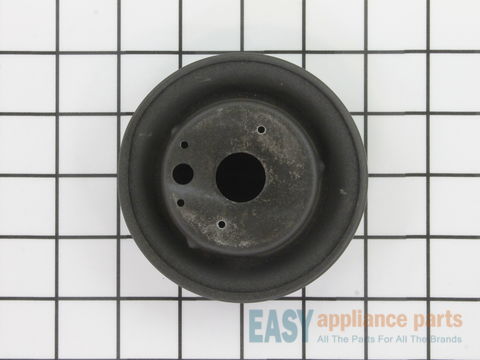
This surface burner head is for ranges.
Surface burner head distributes the gas through holes or slots to create an even flame across the cooking area.
Shut off the gas supply and unplug the range before installing this part. Wear work gloves to protect your hands.
-
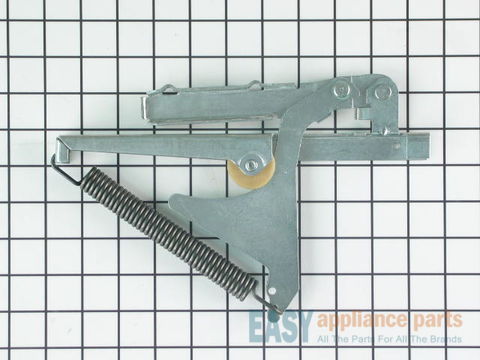
Each hinge is sold seperately.
-
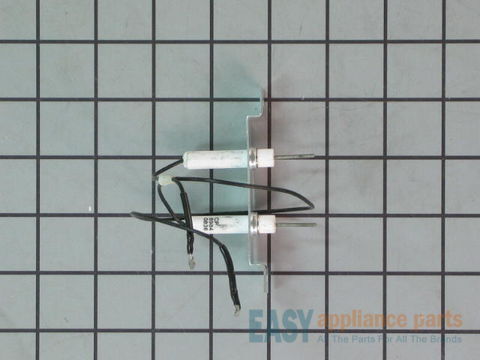
(9)
This part provides the spark to the burners.